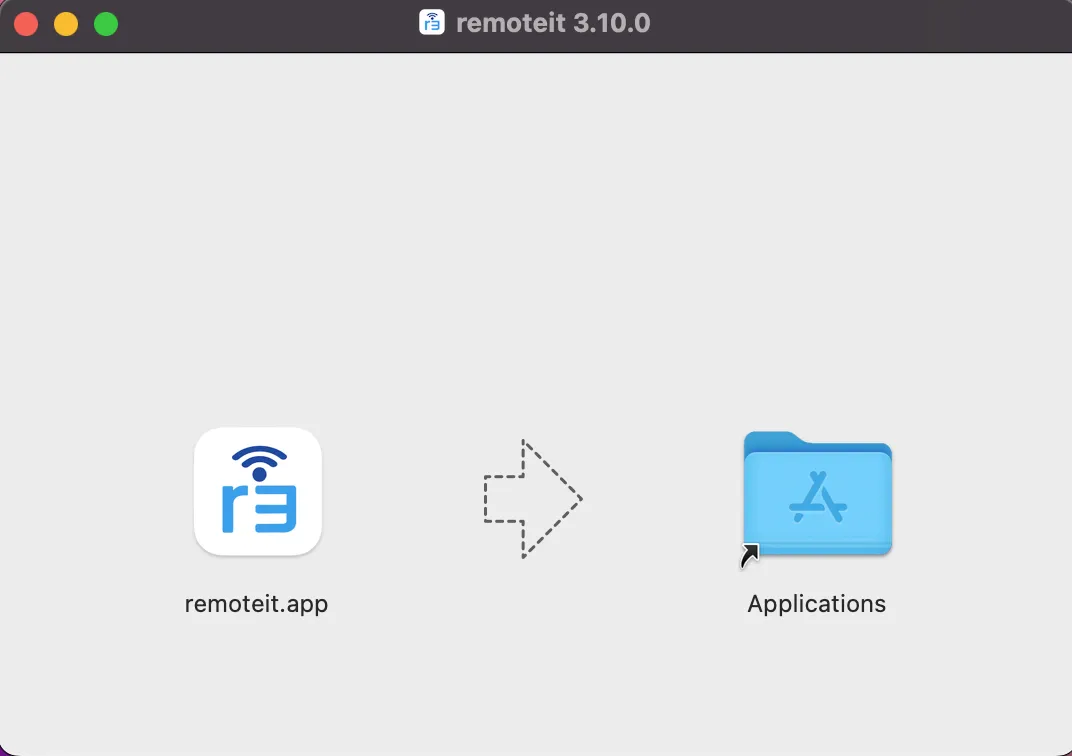
2. After downloading the DMG installer from the links above, double click the DMG file. Drag the remoteit.app icon over onto the Applications folder.
Note: If your remote.it icon is greyed out or has an X over it, you have downloaded the wrong installer. There are two installer files: one for X86/Intel based computers and one for Apple Silicon/ARM based computers.
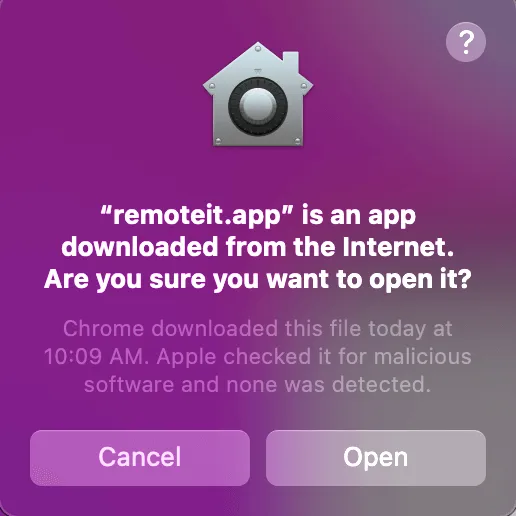
3. A message will appear asking permission to open a recently downloaded file. This is a basic security alert to prevent unwanted applications from being installed. Click "Open"
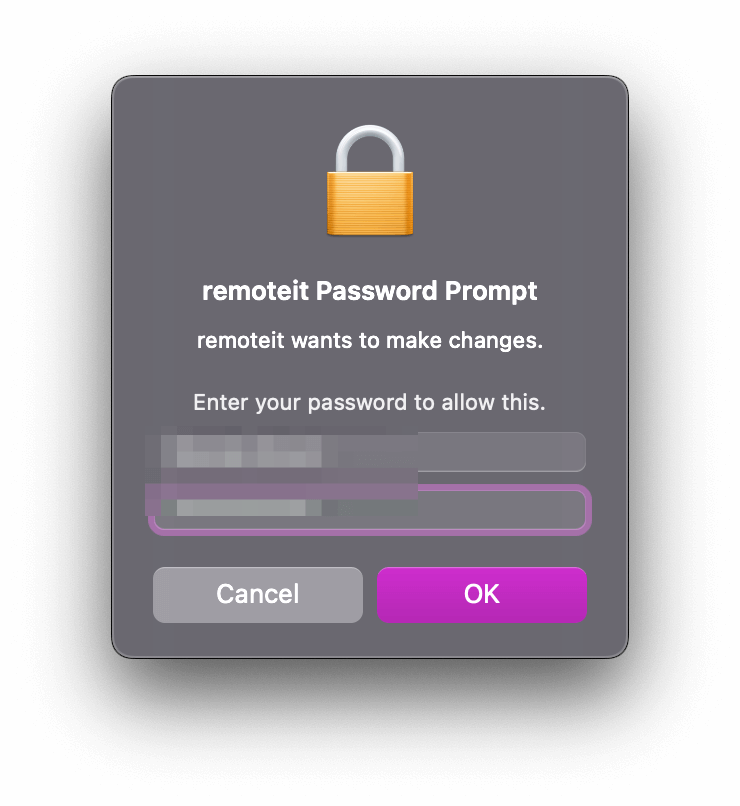
4. Another message will appear asking you to confirm the installation process. Enter your Mac administrator computer username and password. This is the login credentials you use to log into the computer after a reboot. Do not enter your Remote.It credentials.
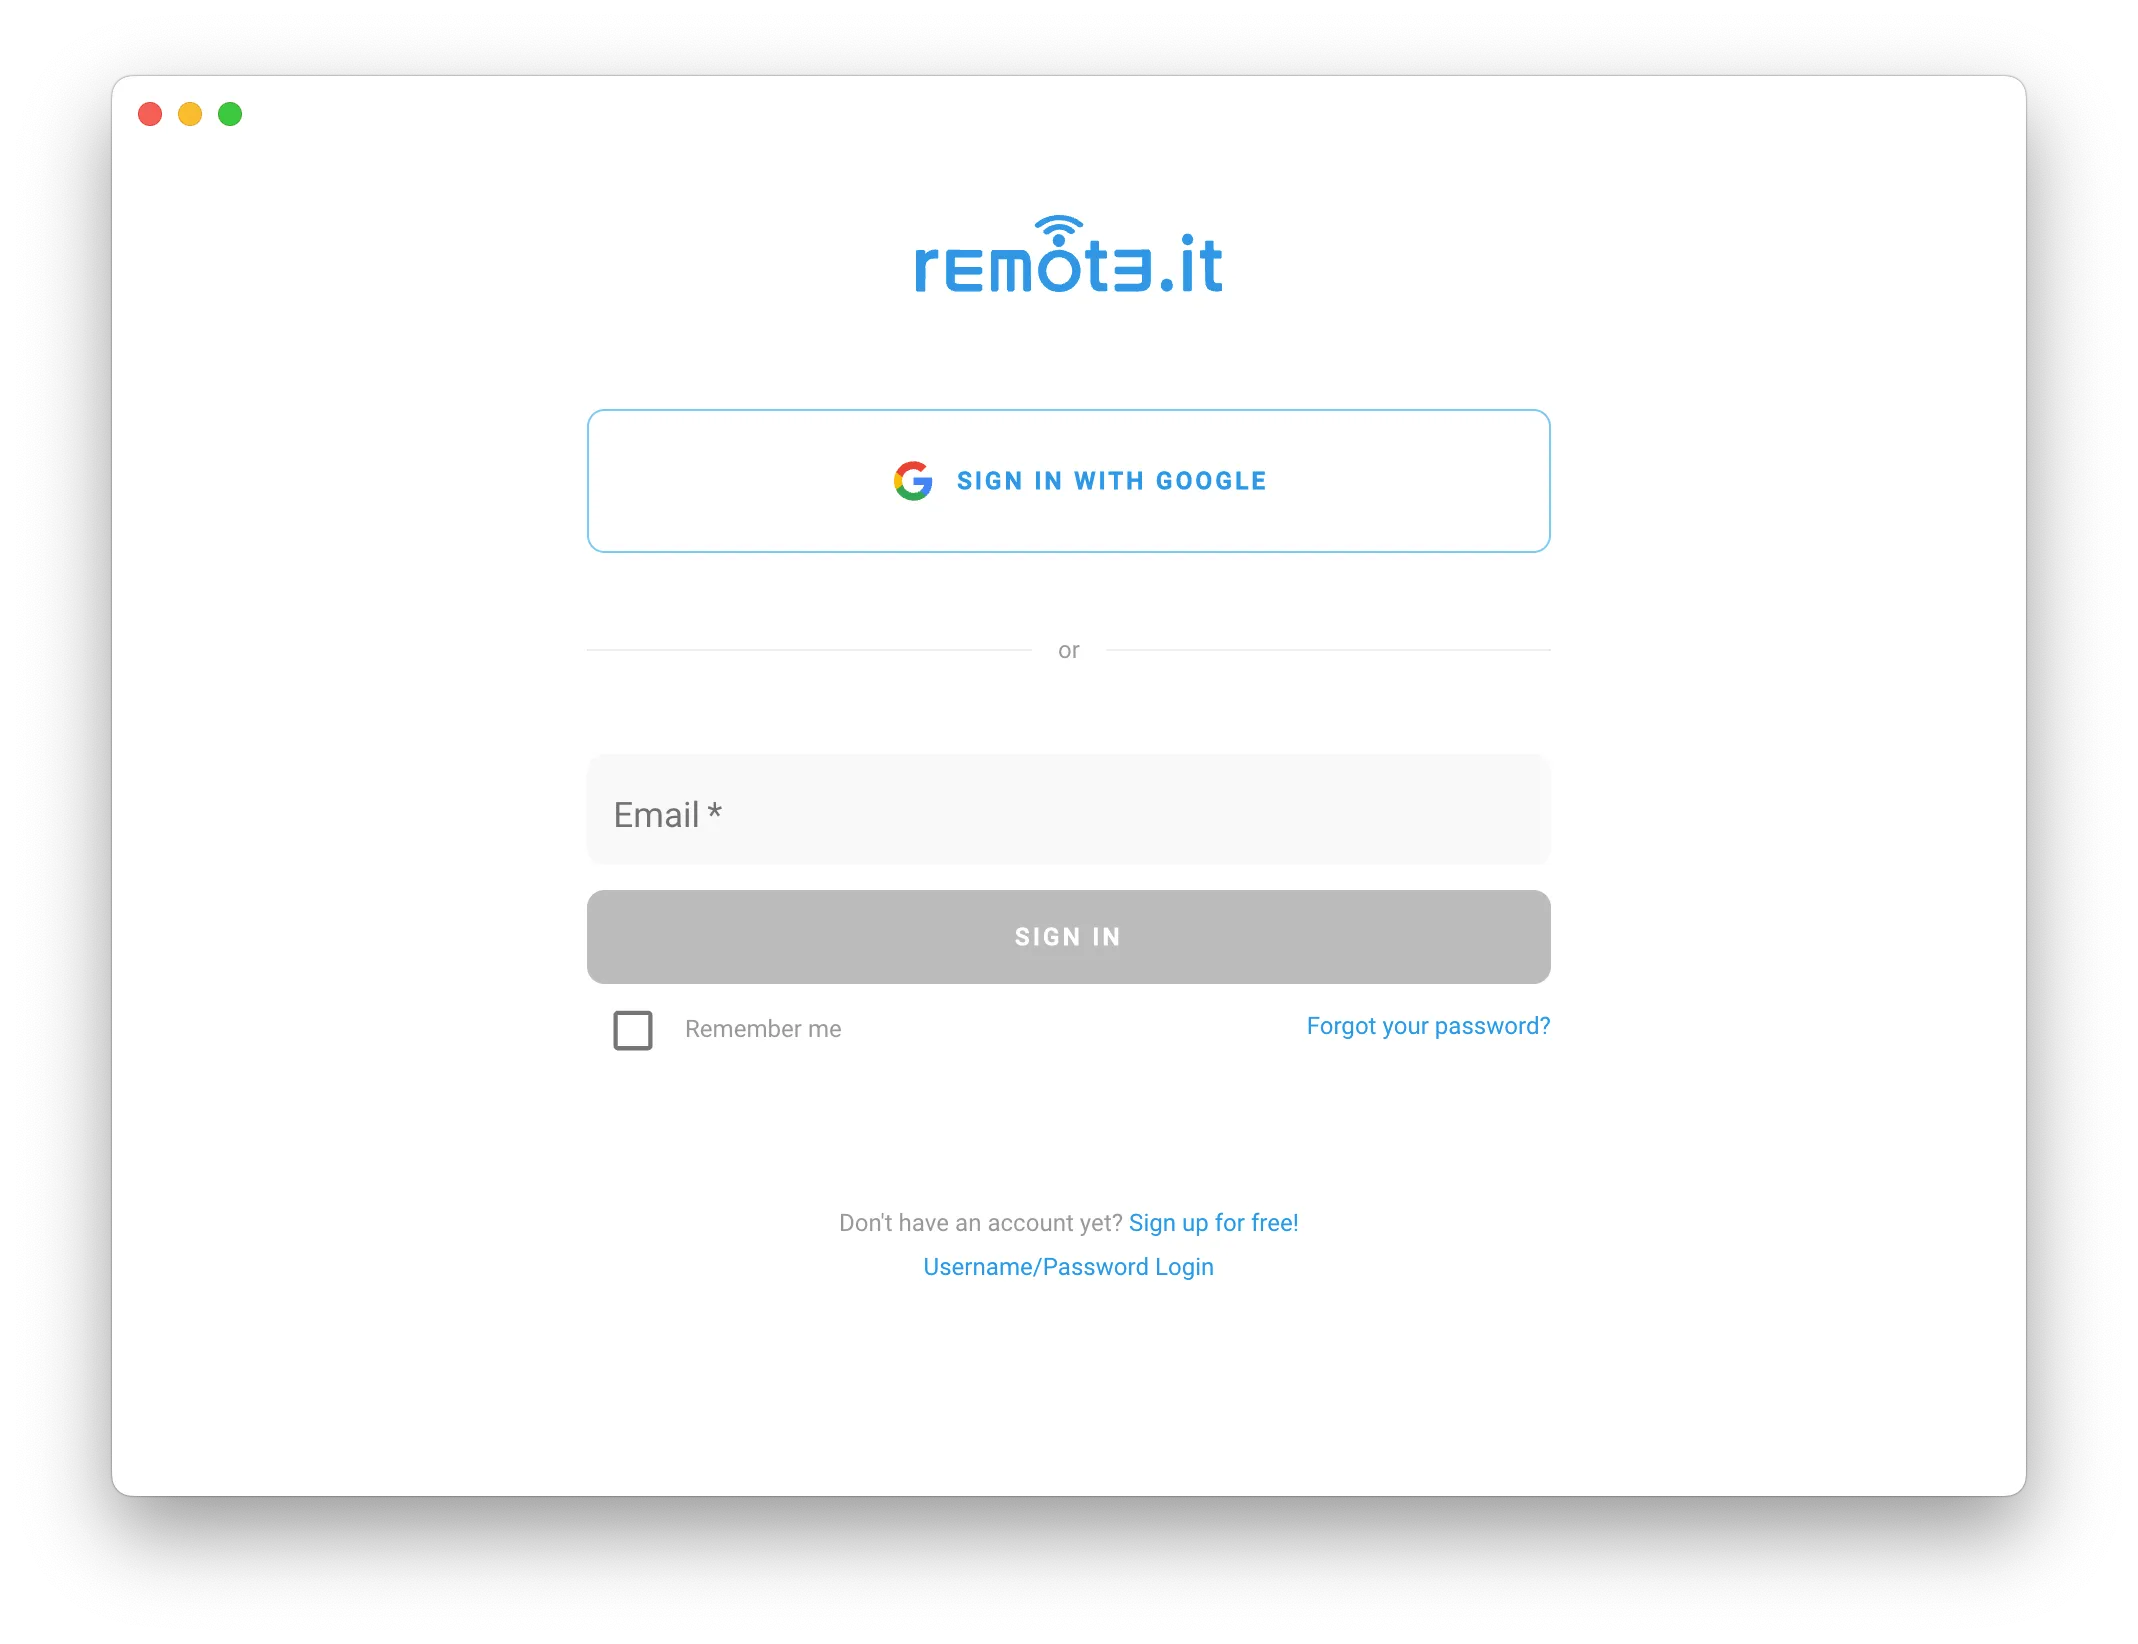
4. After the application is fully installed you will see a login prompt. Please login with your Remote.It account credentials.
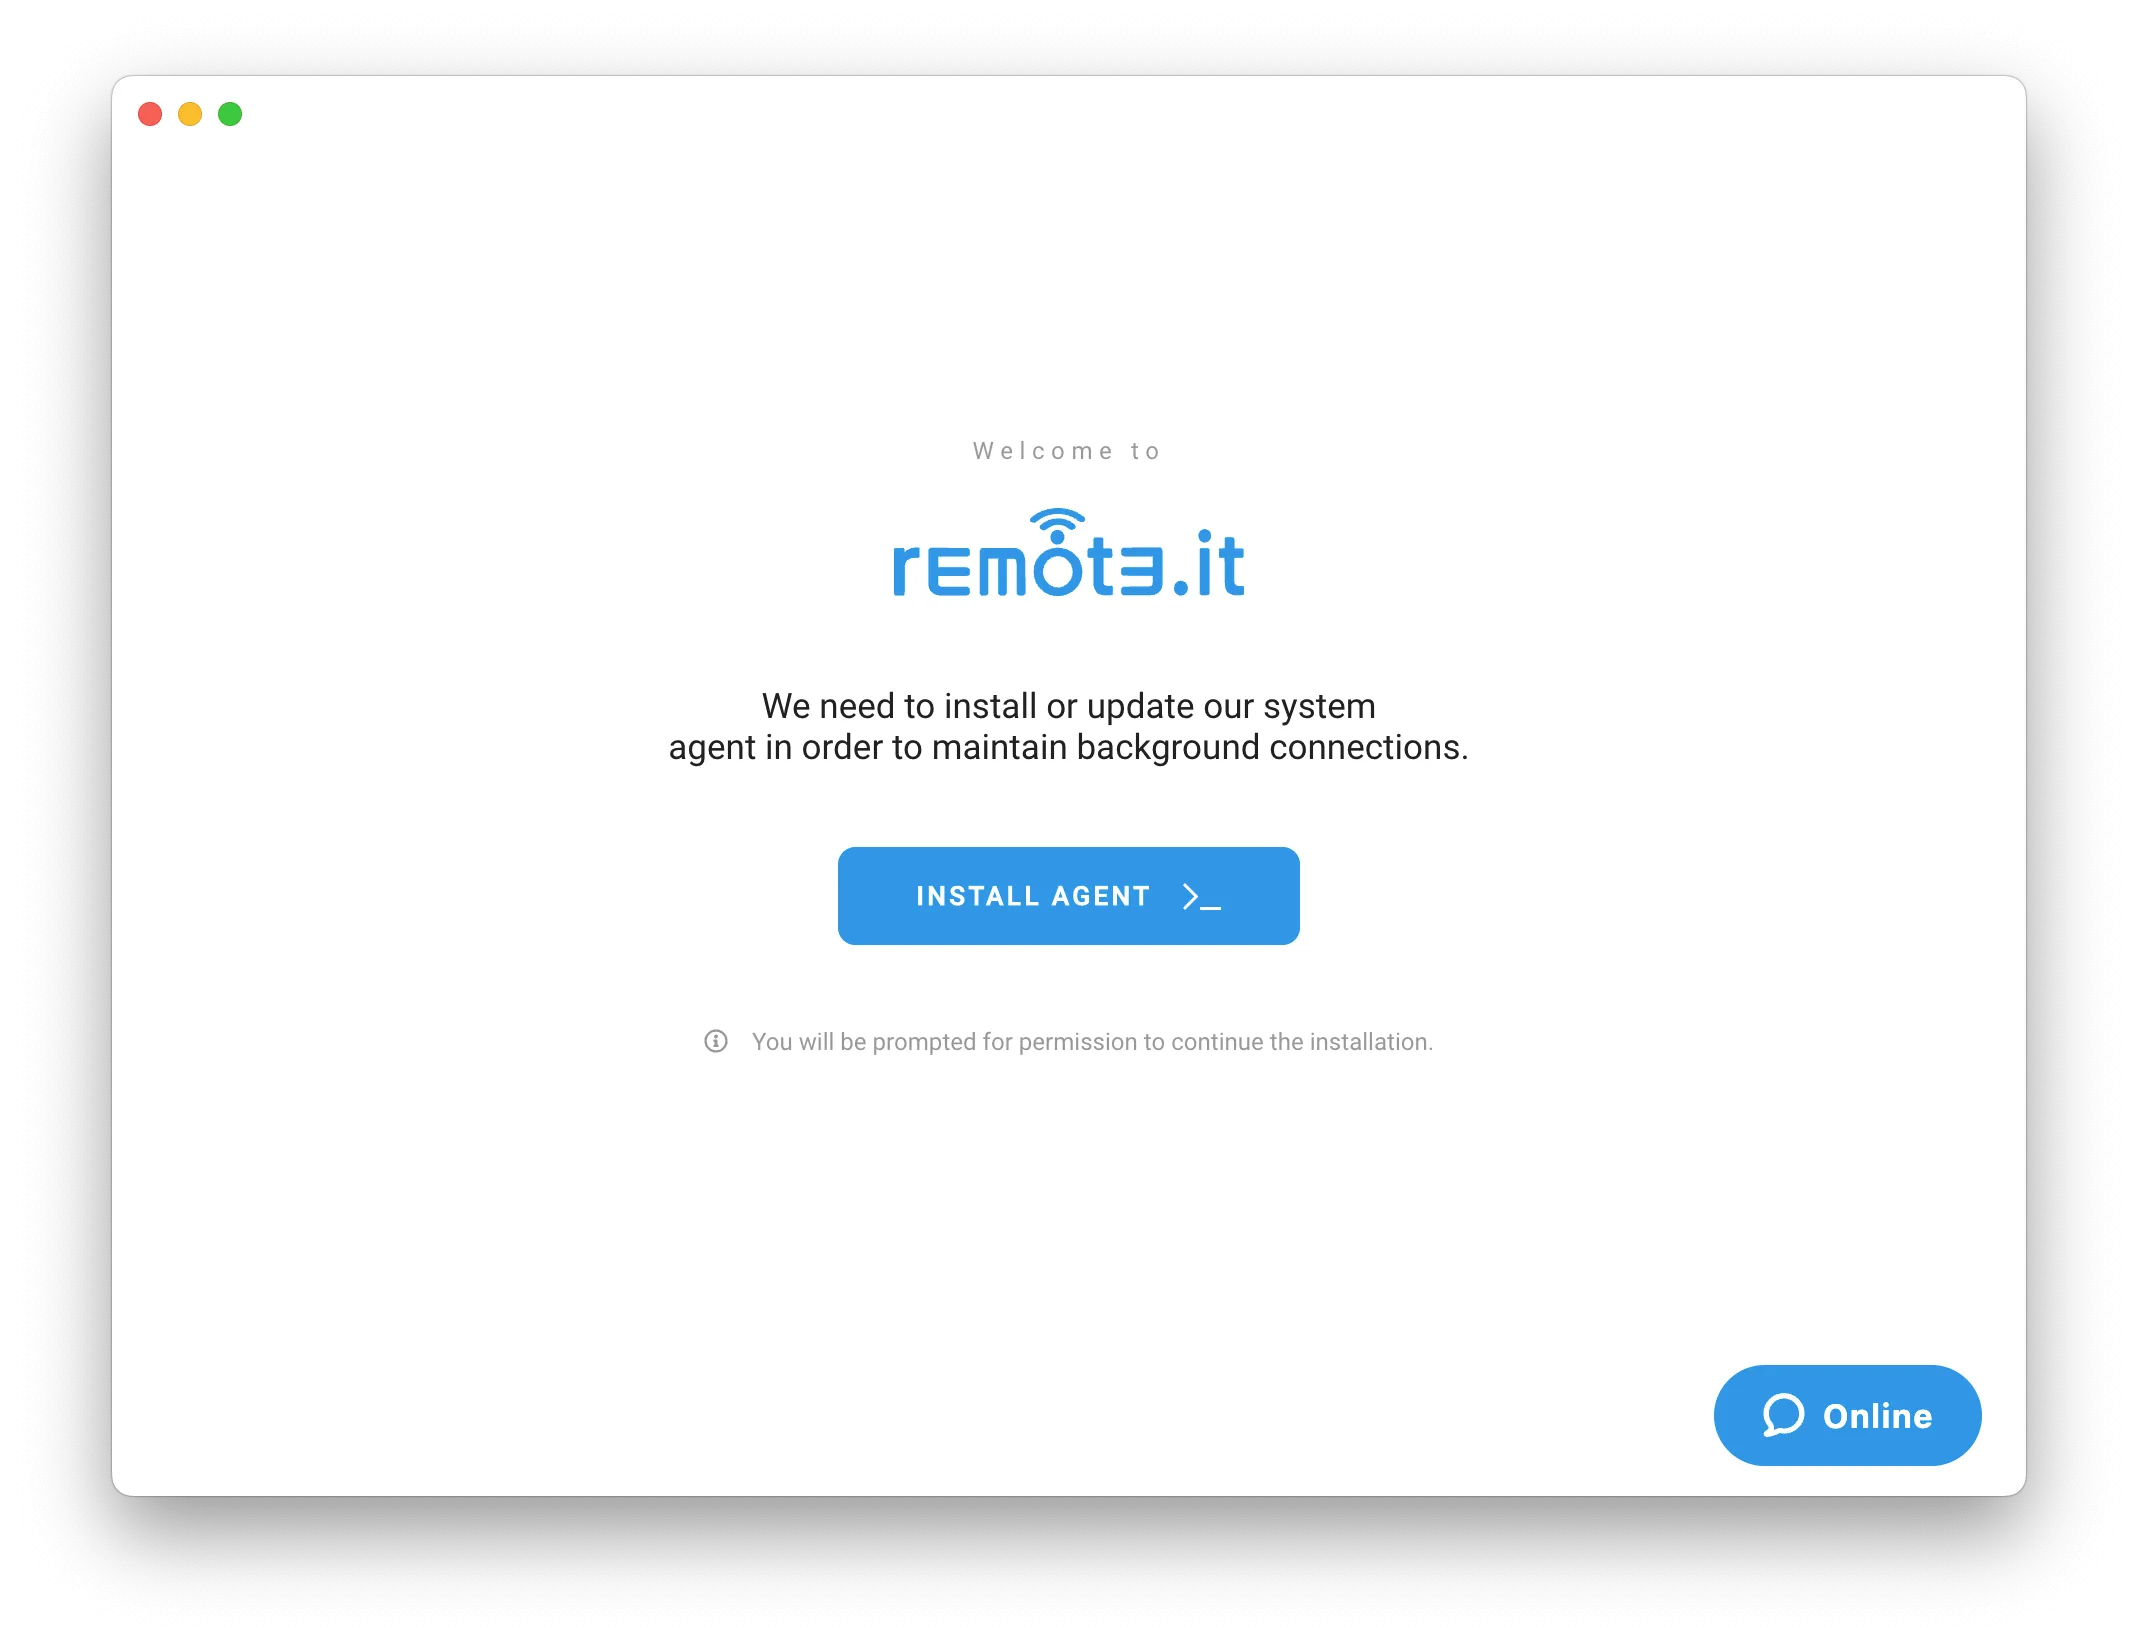
5. Continue through the prompts to "Install Agent". The desktop app will need this to make connections and, if set up, allow connections to this Mac. When it prompts you to allow this app to make changes, enter your Mac administrator computer username and password.
6. If you do not need to support connections to this Mac, do not proceed with the next instructions. You can either continue to set up other devices which you want to connect to by
repeating the guide for adding devices you want to connect to OR if you already have your devices set up, use the application.
Configure Your Mac To Accept Connections
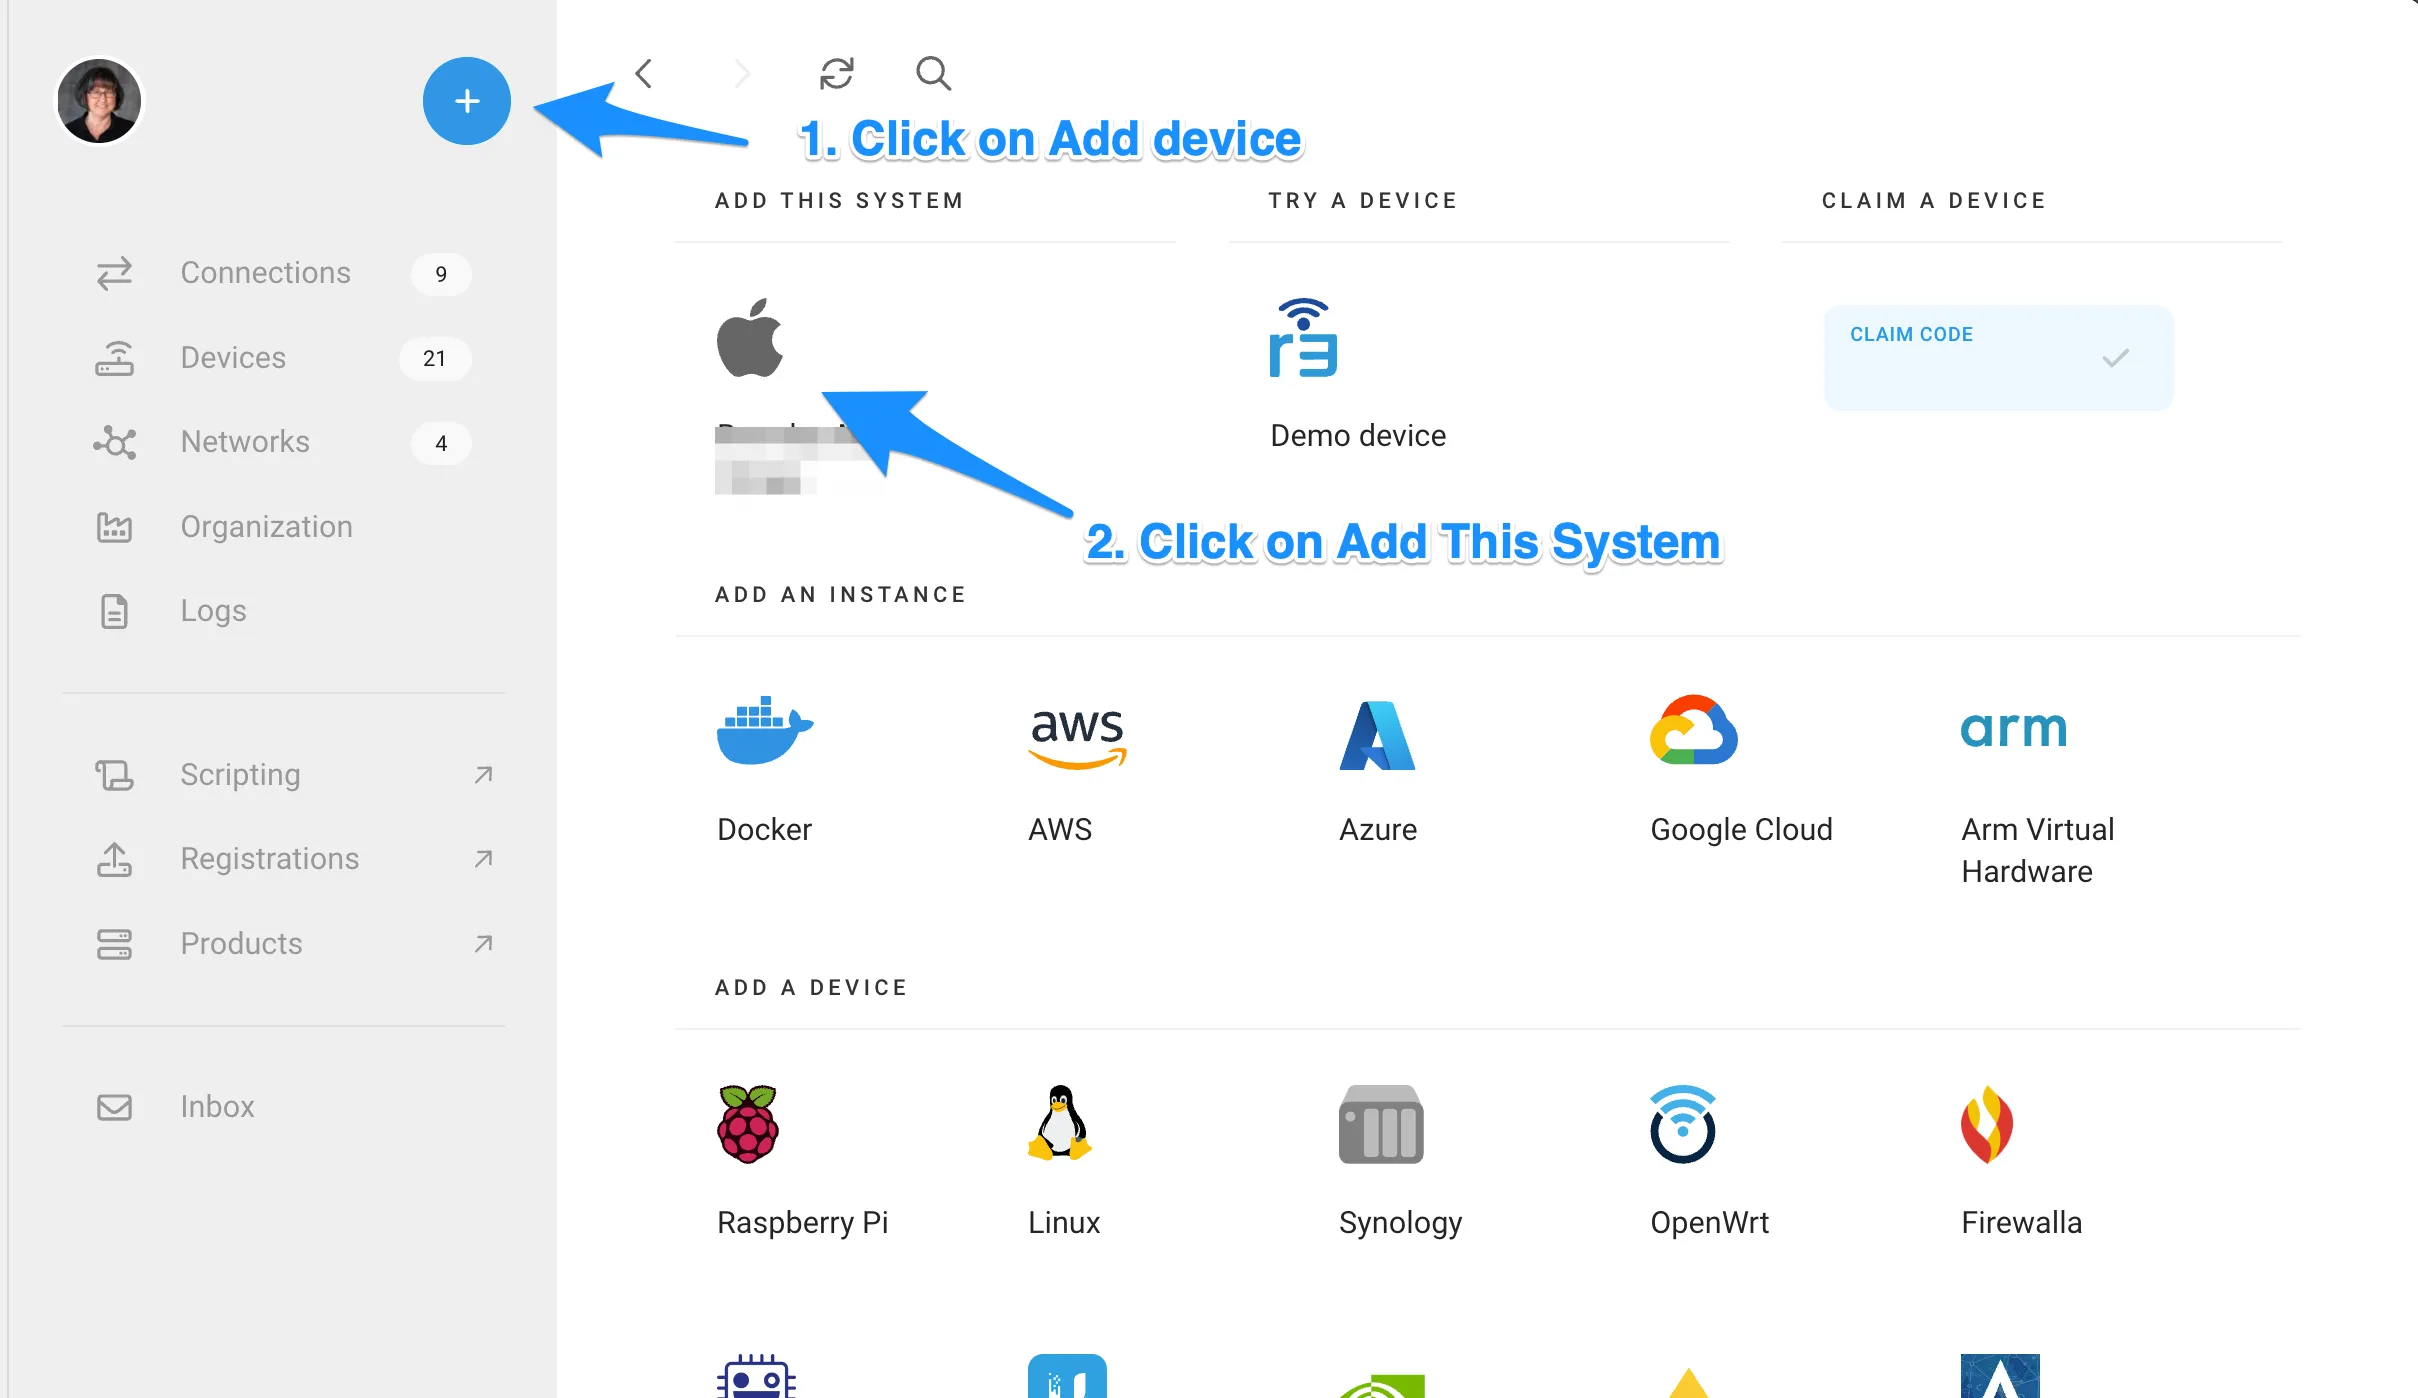
1. Add this device
Click the "+" Add device button and select "This system"
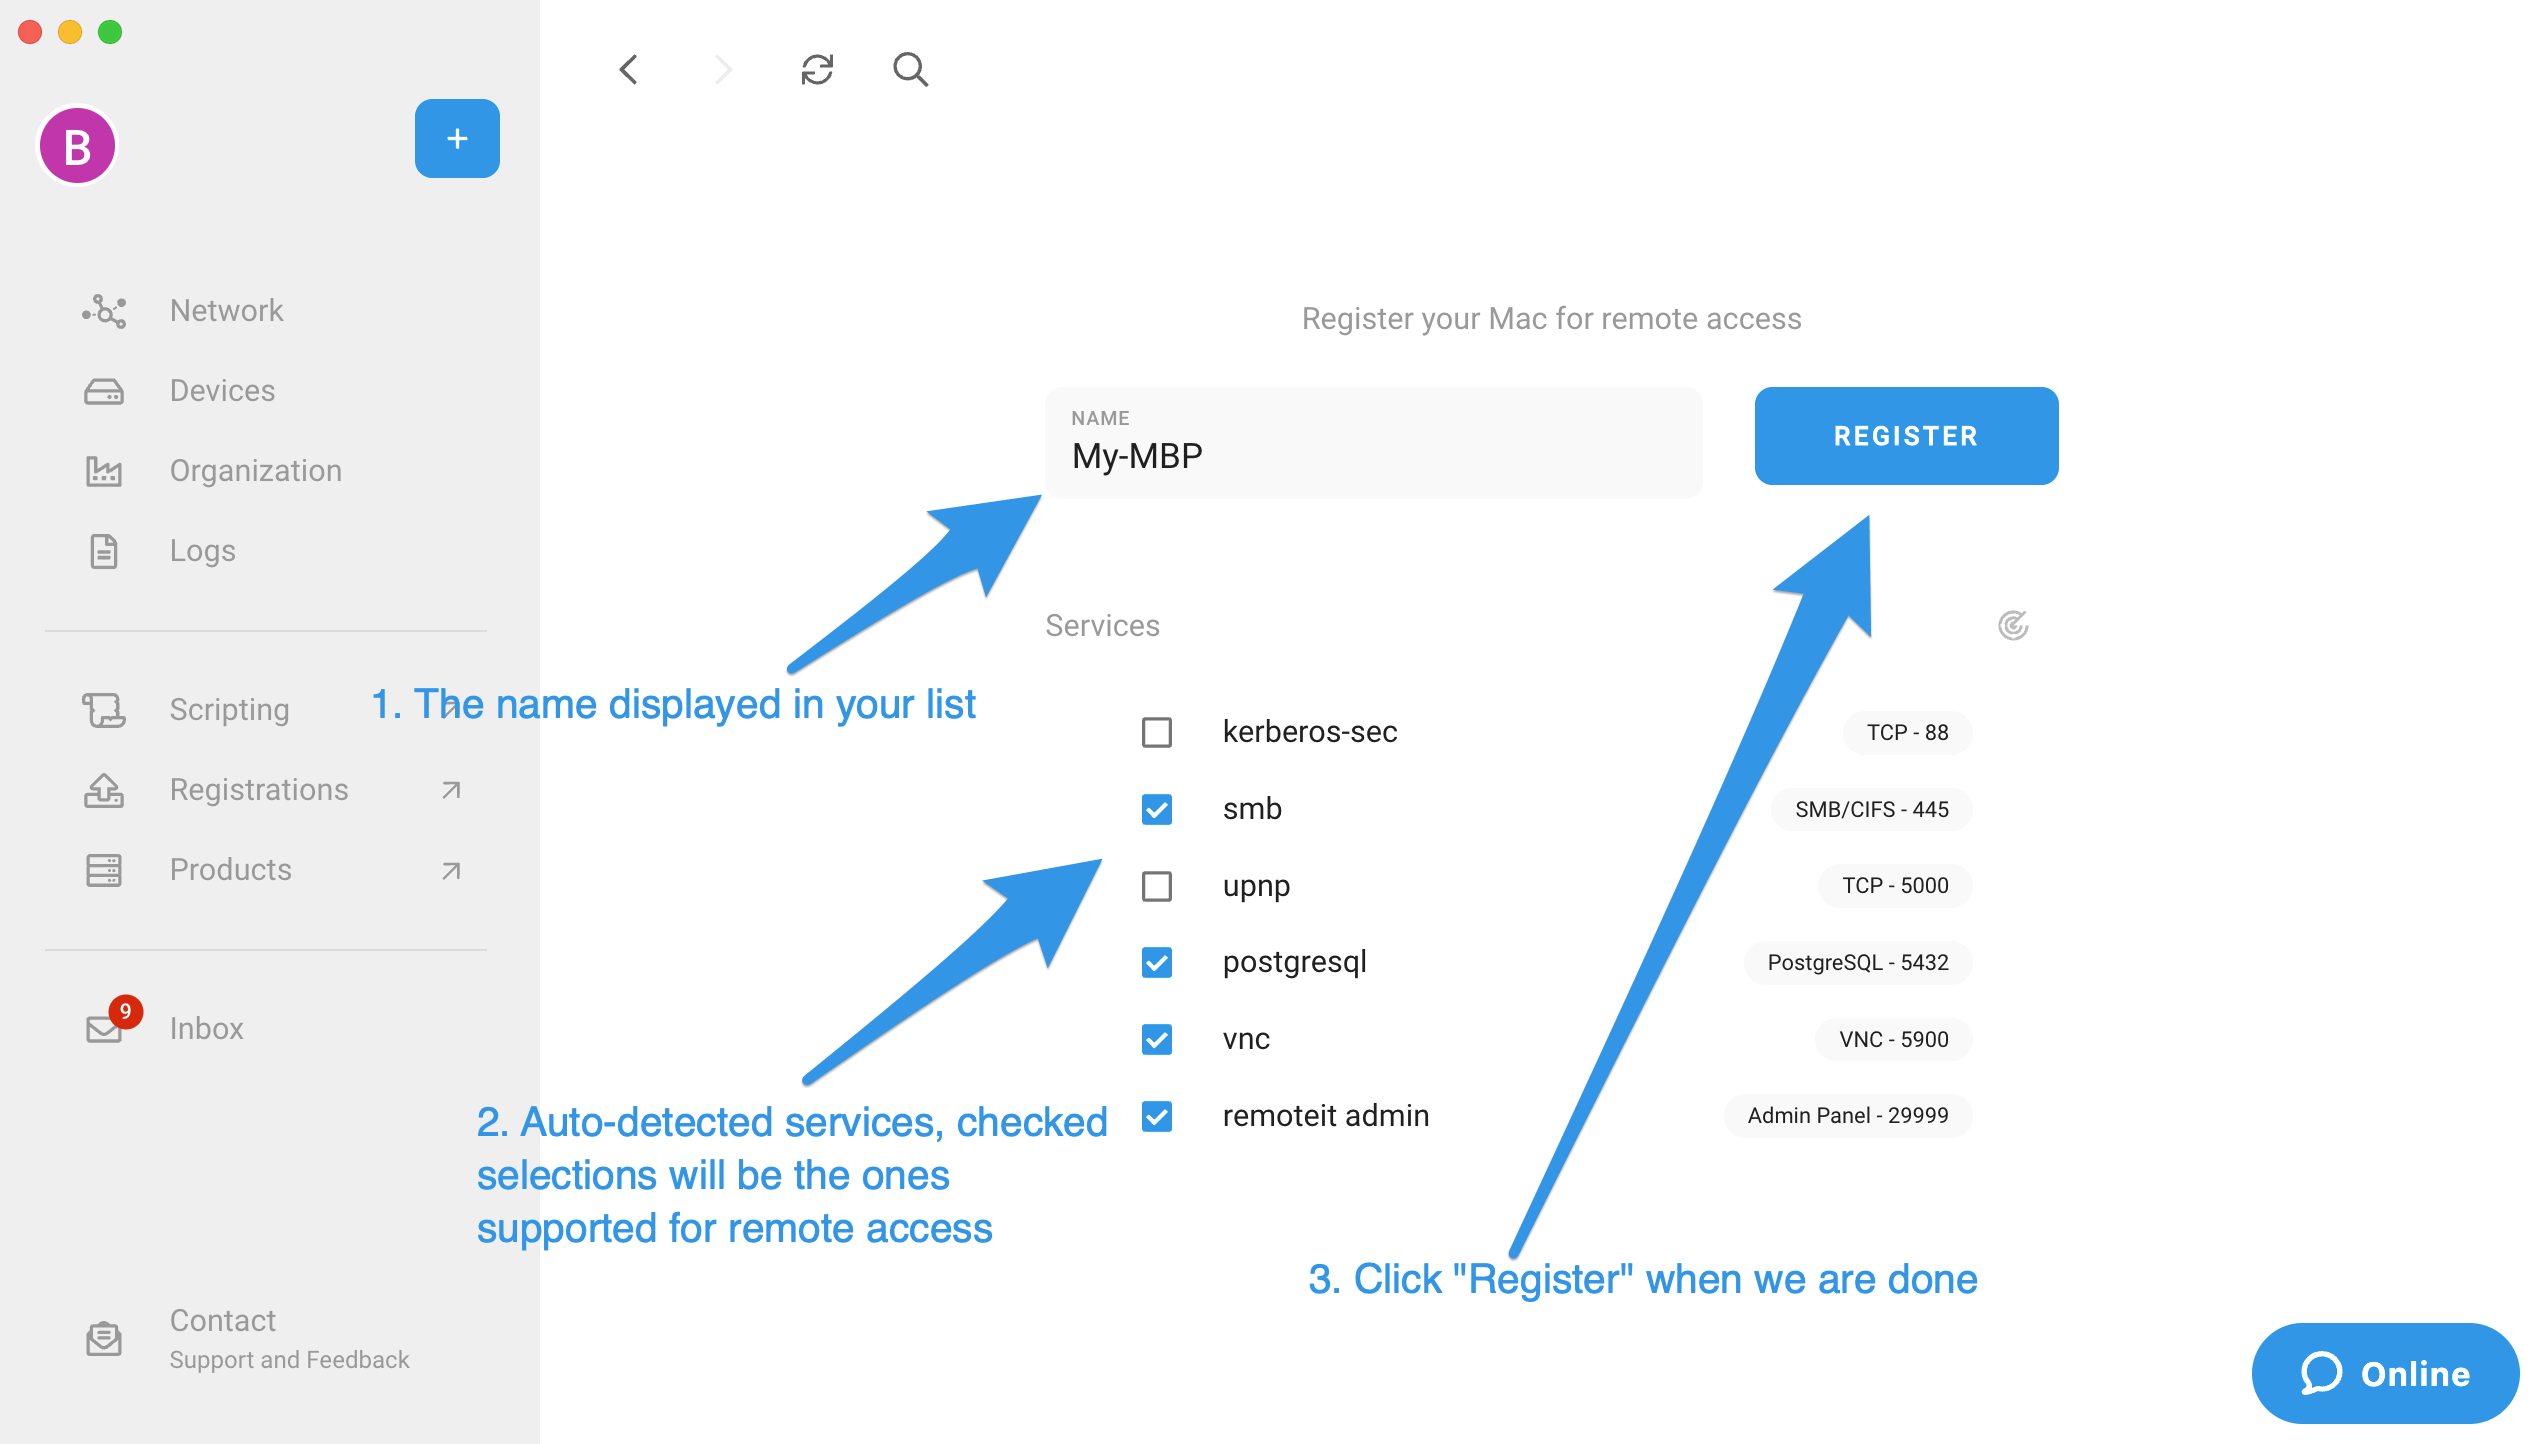
2. Configure the system for Remote.It connections
Update the name to how you would like to see it in your device list for connections. The list of services shown and checked will be the ones that will be available to remotely connect to. Select the ones you want. If you do not see the service you want, you can add that later. Click "Register"
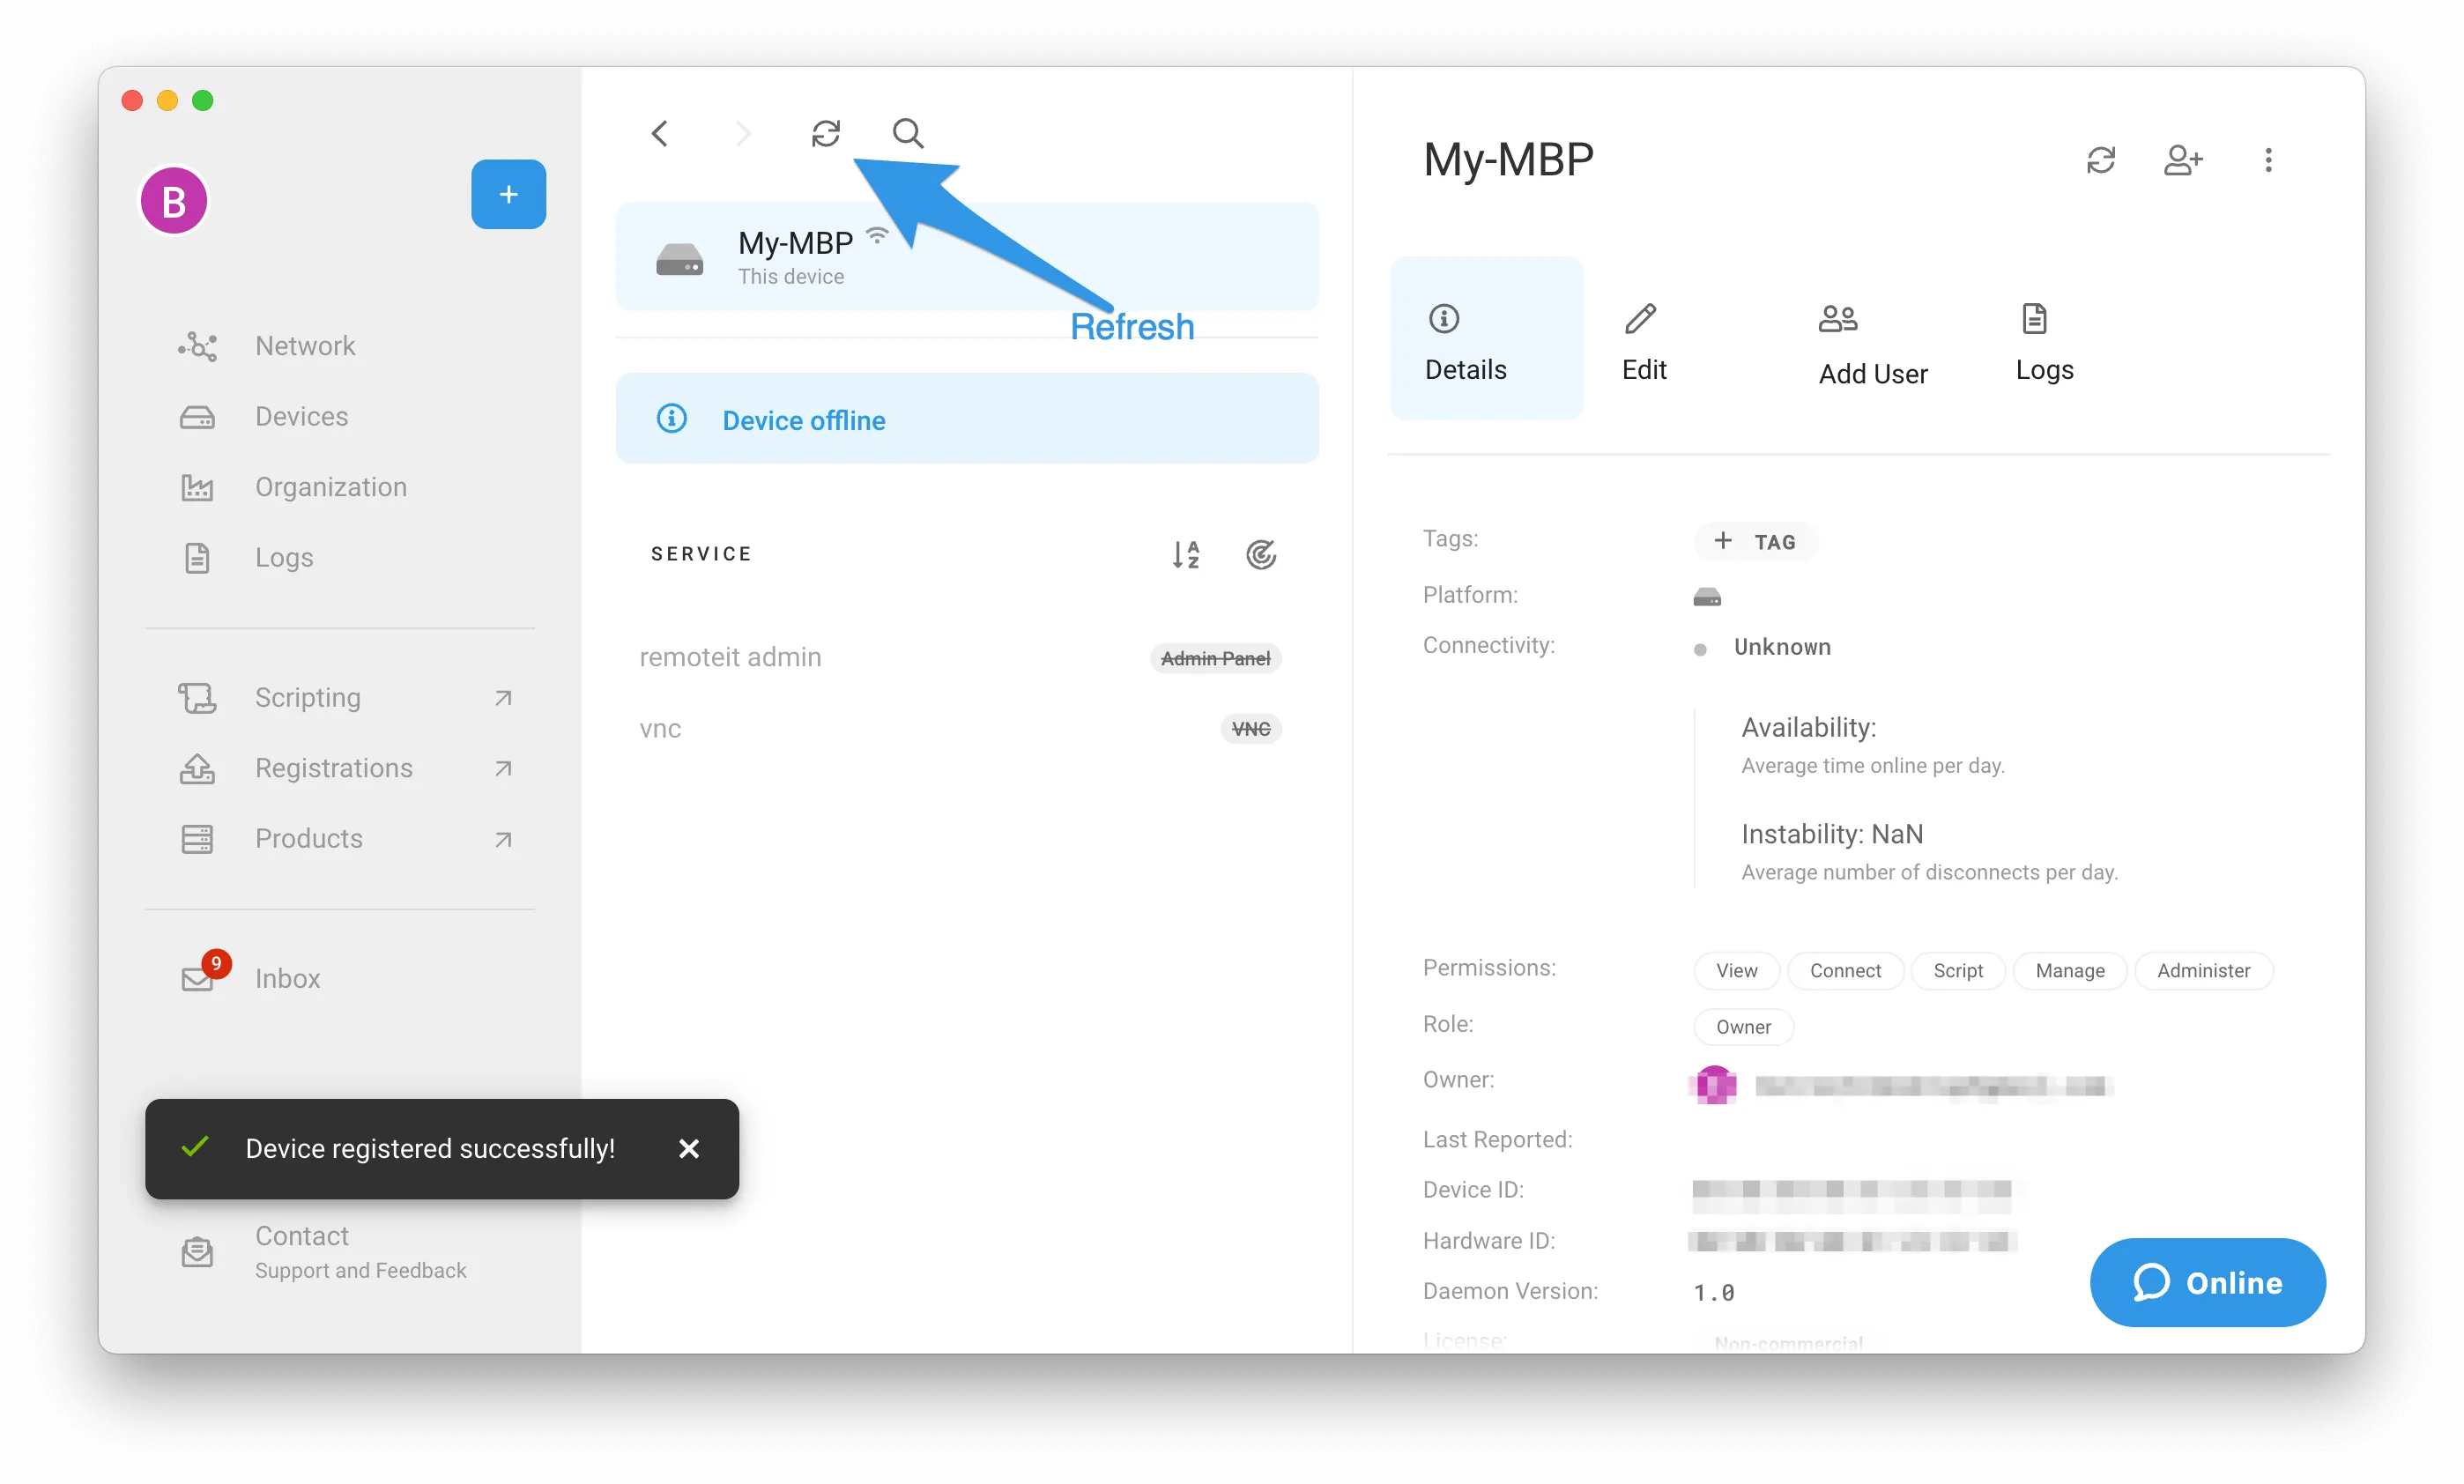
3. Remote.It Desktop will notify you when registration is complete. If the status "Device offline" doesn't update in a moment, click the "refresh" button to update. You are now ready to add additional services such as Minecraft, Terraria, or another application/service which you can access via a port.
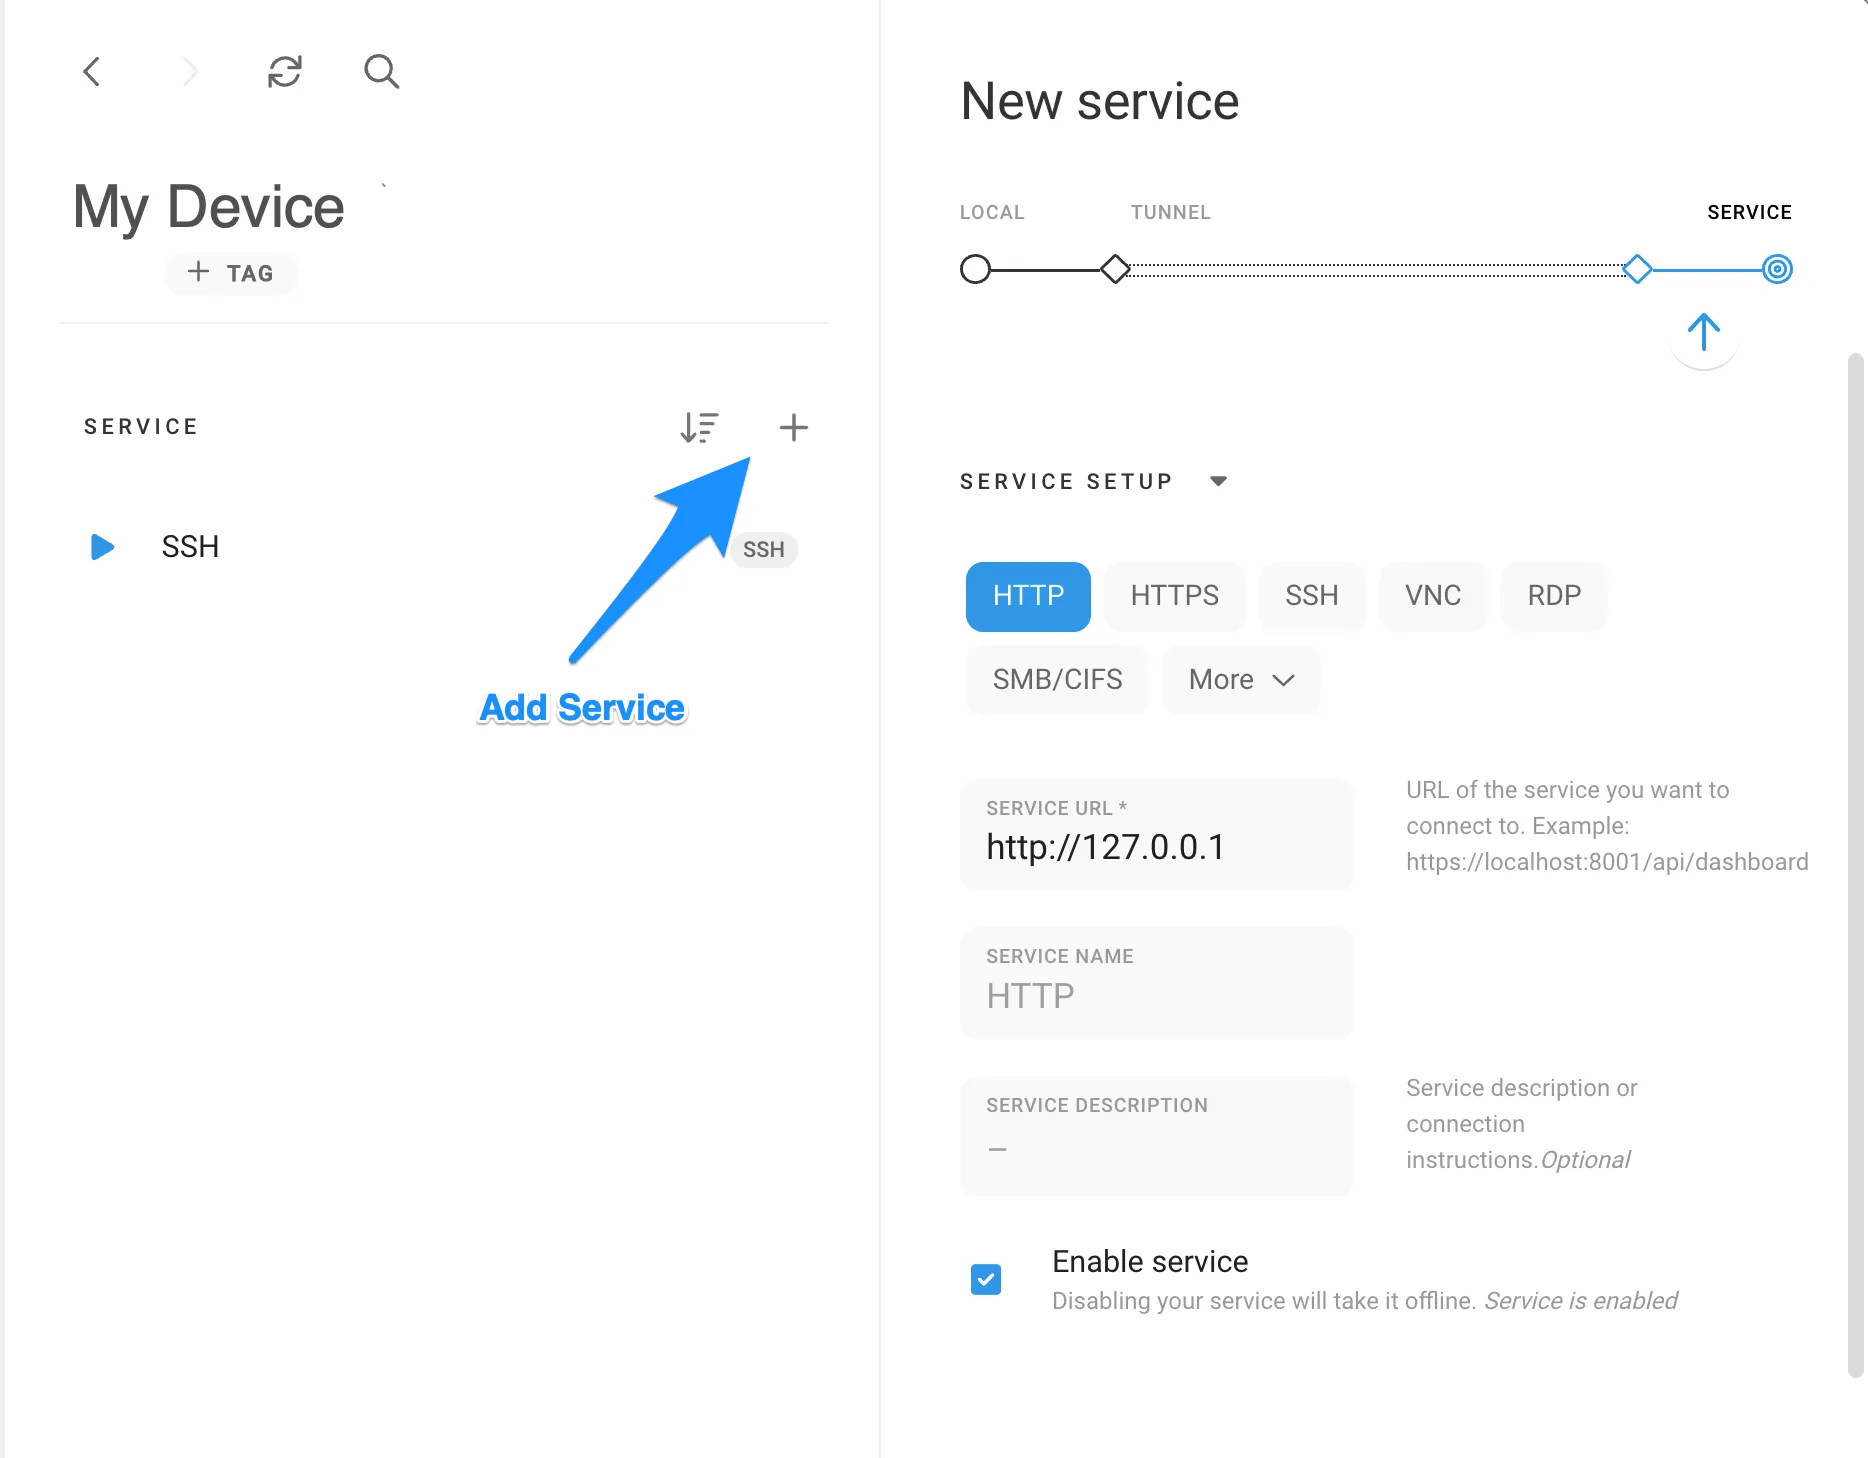
4. Add additional services
Click the "+" Add Service button in the middle pane. Make sure that the service is running on your Mac. Provide a name, port, and service host address (Defaults are provided for most services). Only override default ports if you have assigned a different port for this service on your Mac.
Repeat for all the services you would like to access remotely.
Connect!
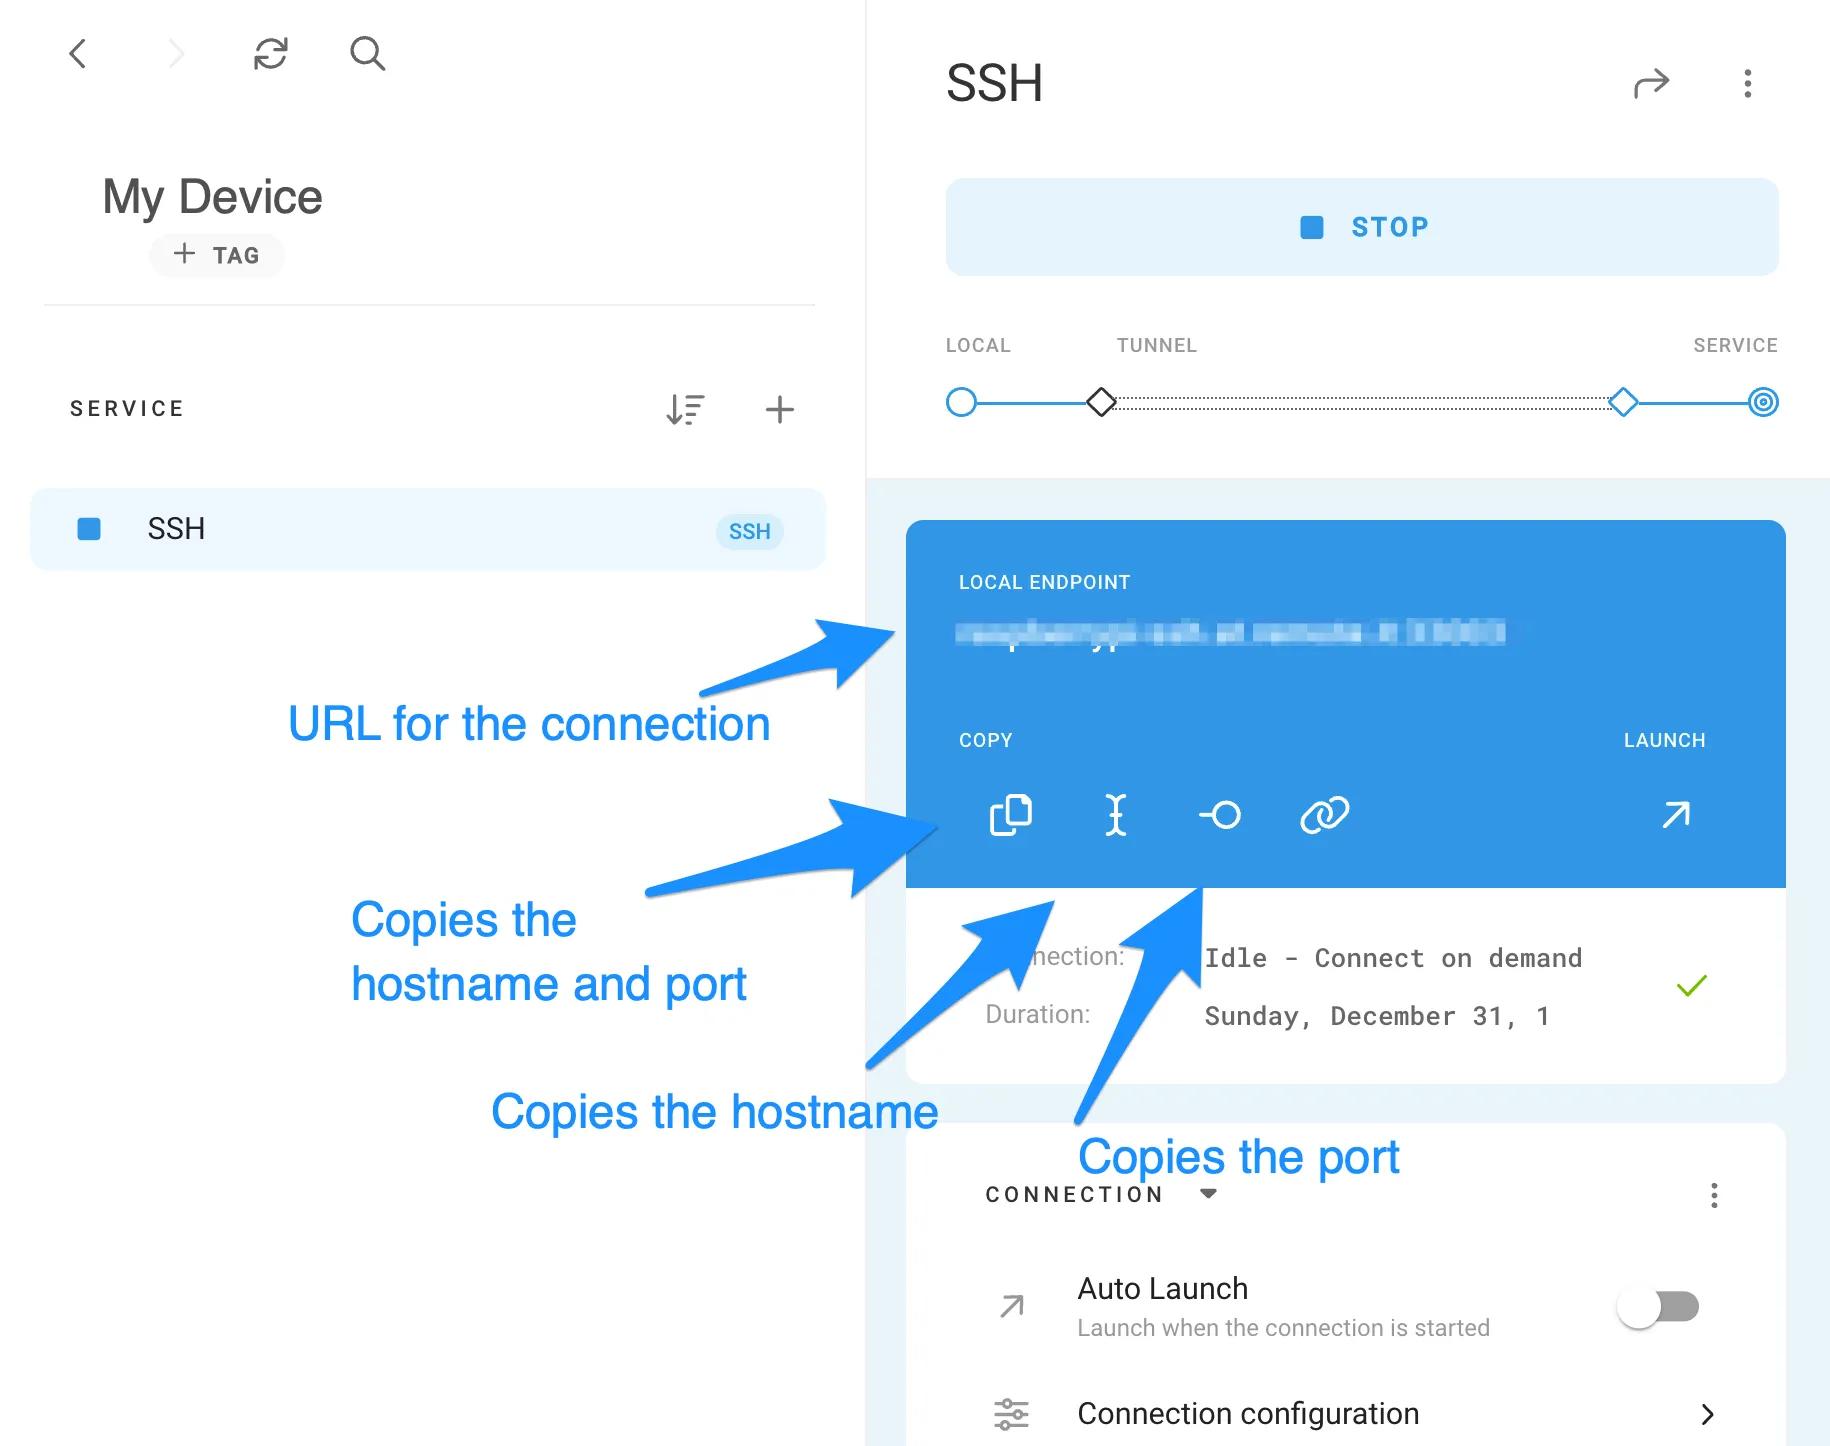
From a different computer, you can use
https://app.remote.it to connect. Select the service you would like to create a Remote.It connection to and click "Connect". You can now use this connection address in the application such as terminal, VNC viewer or a browser (see image below). When you are done with the connection, click "Stop Connection".