Blog


We believe in securely connecting everything by enabling users to build private networks within the internet that only they can see. We provide zero trust IT/OT networking as a service.
Language
English

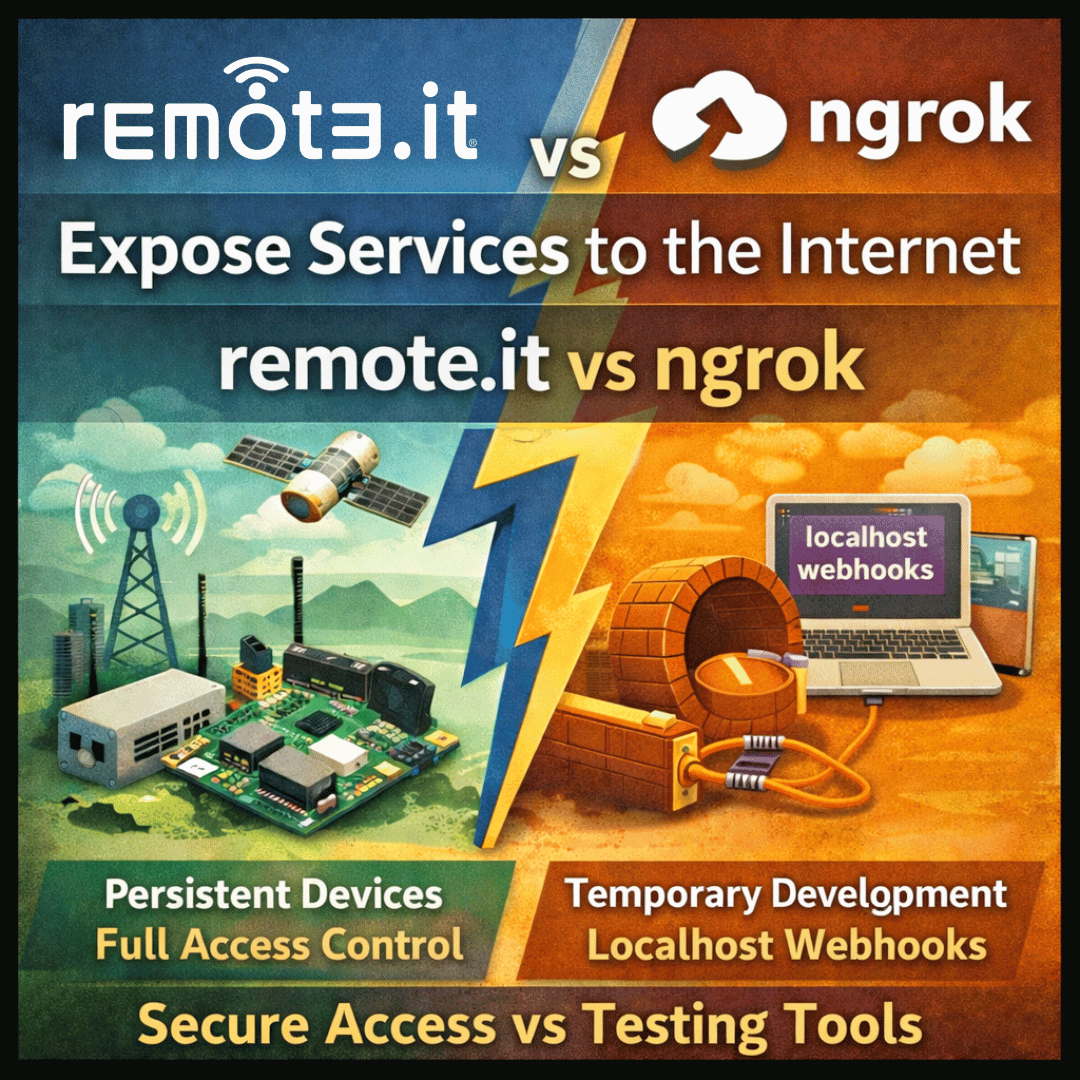
Developers of IIoT devices face a difficult challenge beyond the specific application for which they are building a solution: the Internet itself has become akin to shark-infested waters full of malicious and exploitative predators. Devices can be discovered within moments of being connected to the internet, exposing them to denial of service attacks, intrusion attacks and other exploits from hackers. So what is a developer to do to protect their IIoT devices? One solution is to implement a private network solution with private routing, also called a virtual private internet (VPI). This blog post describes how to set up a VPI on a Raspberry Pi device.
remote.it is a service that provides remote access and P2P connections to endpoint devices without requiring an open port. “Your personal and secure portal for Industrial Internet of Things” if you will.
In order to remotely and securely access an edge device using the internet, a global IP address and an open port must be used. This is generally done using a VPN or port forwarding. The major flaw of this method is that opening a port to the internet exposes your device to essentially the entire world. remote.it eliminates this risk of attack by allowing remote access without requiring you to open ports on your router.
But how is this possible? A thief looks for doors or windows to enter a house – no different than a hacker probing for open ports. remote.it doesn’t just lock the door, it makes it invisible, eliminating opportunities for a hacker to have entry points. So what happens when you want to enter the house then? You use your own personal portal.
To explain how this works, I will share an example by connecting to a Raspberry Pi.
To start, create a free remote.it account using by going to https://app.remote.it/auth/#/sign-up

* To complete setting up your account you will need to follow the instructions given in the verification email. If you cannot find the email, be sure to check your spam folder.
Once you have an account, you can sign in to the remote.it web portal: https://app.remote.it

Before you start, make sure that your Raspberry Pi is using Raspbian Stretch or Buster and is connected to the internet.
First update to the latest package.

Then install remote.it (the package is called “connectd”).

Installation is now complete.
Next, you need to register your Raspberry Pi as a remote.it device.

Execute the device registration script.
Select “1” and sign in with your remote.it account credentials.

Once you have successfully signed in, you will be prompted to create a device name for your Raspberry Pi. This name will be used to distinguish this device on the remote.it web portal screen. Only letters, numbers, underscores, spaces, and dashes can be used. In this case, I named my device “My-Raspberry-Pi.”

Once device registration is complete, a notification email will be sent to the email address linked to your remote.it account.
Next, select “1” to register the service you would like to use for remote access to your device.

I would like to connect to my Raspberry Pi via an SSH connection so I will select “SSH on port 22.” Aside from SSH, there are many other service options to use. If you would like to connect using a service not listed, you can register a custom service by selecting “Custom (TCP)”.

Decide whether you would like to use the default SSH port number 22 or a custom port number. Select “y” to use the default or “n” to use a custom port number.

If you select “n,” you will be asked to input your desired port number.

Next, you will be asked to create a service name. This service name will also be used in the web portal. Only letters, numbers, underscores, spaces, and dashes are allowed. I name my service “My-Raspberry-Pi_SSH.”

Device and service registration are now complete. Select “5” to exit the device registration script.

You are now ready to remotely connect to your Raspberry Pi. First, sign into the web portal. Under the device list, you will see the name of the device that you just registered.

Click on the device name to open the “Device Services” dialog.

Then click on the SSH service (mine is named “My-Raspberry-Pi_SSH”). In a few seconds, you will see the pop-up dialog which displays the host name (e.g. proxy71.rt3.io) and port number (e.g. 34936) needed to make an SSH connection.
You can use a standalone SSH client application such as PuTTY, or command-line scripts, depending on your operating system. For Windows 10 this can be done using the command prompt and for macOS or Linux this can be done using the terminal window.

Now let’s connect!
In addition to the host name and port number, remote.it offers some preformatted SSH command lines using the Pi and root usernames for your convenience. If you are using a different username, use the third option where the word LOGIN has been inserted as a placeholder for you to enter your own username. I will be using the third option in this example.
Select the entire line and copy it to your terminal or command prompt (don’t hit ENTER yet). Now edit the word “LOGIN” (you’ll need to use the left arrow and then backspace over it) and replace it with your username. I will be using the username “demo” in this example.

Now press “Enter.” This initiates the login. You will probably see the following security message (or something similar), which is entirely normal. Type “yes” to continue.
Enter your password when prompted.
Now you are logged in and can run console commands as you normally would.
Not only are you connected to your Raspberry Pi, but your Raspberry Pi’s SSH port is not exposed to the internet. The network configuration that was originally connected to the internet has not changed. remote.it has provided a remote connection with no exposed ports!
Your personal and secure portal to any edge device using the internet!